Ultra Drop Standard Zinc
Roll over image to zoom in
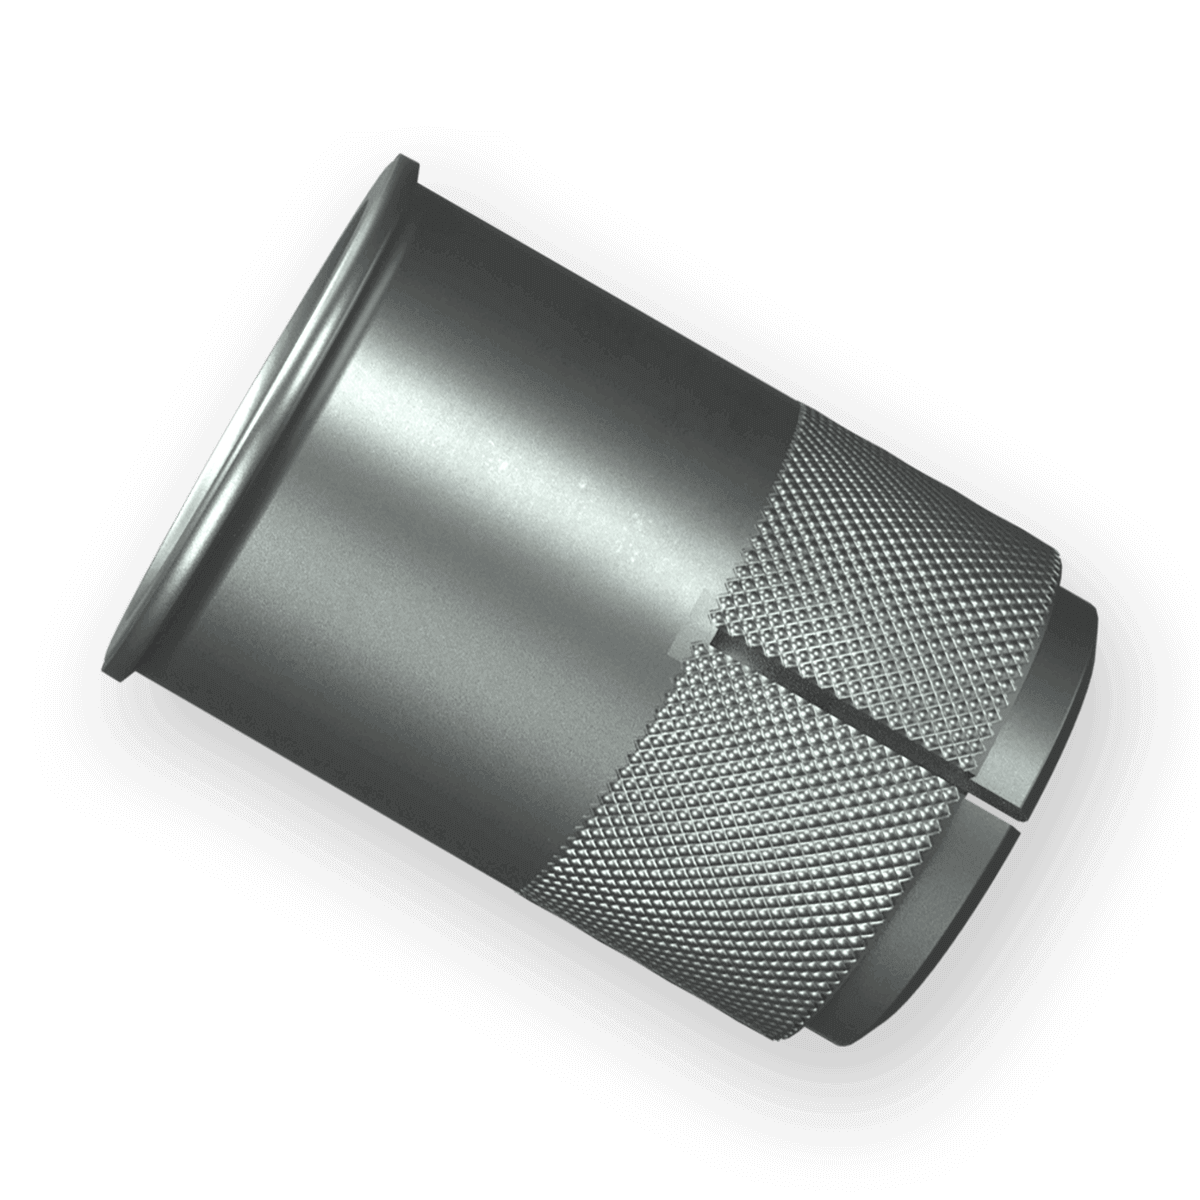
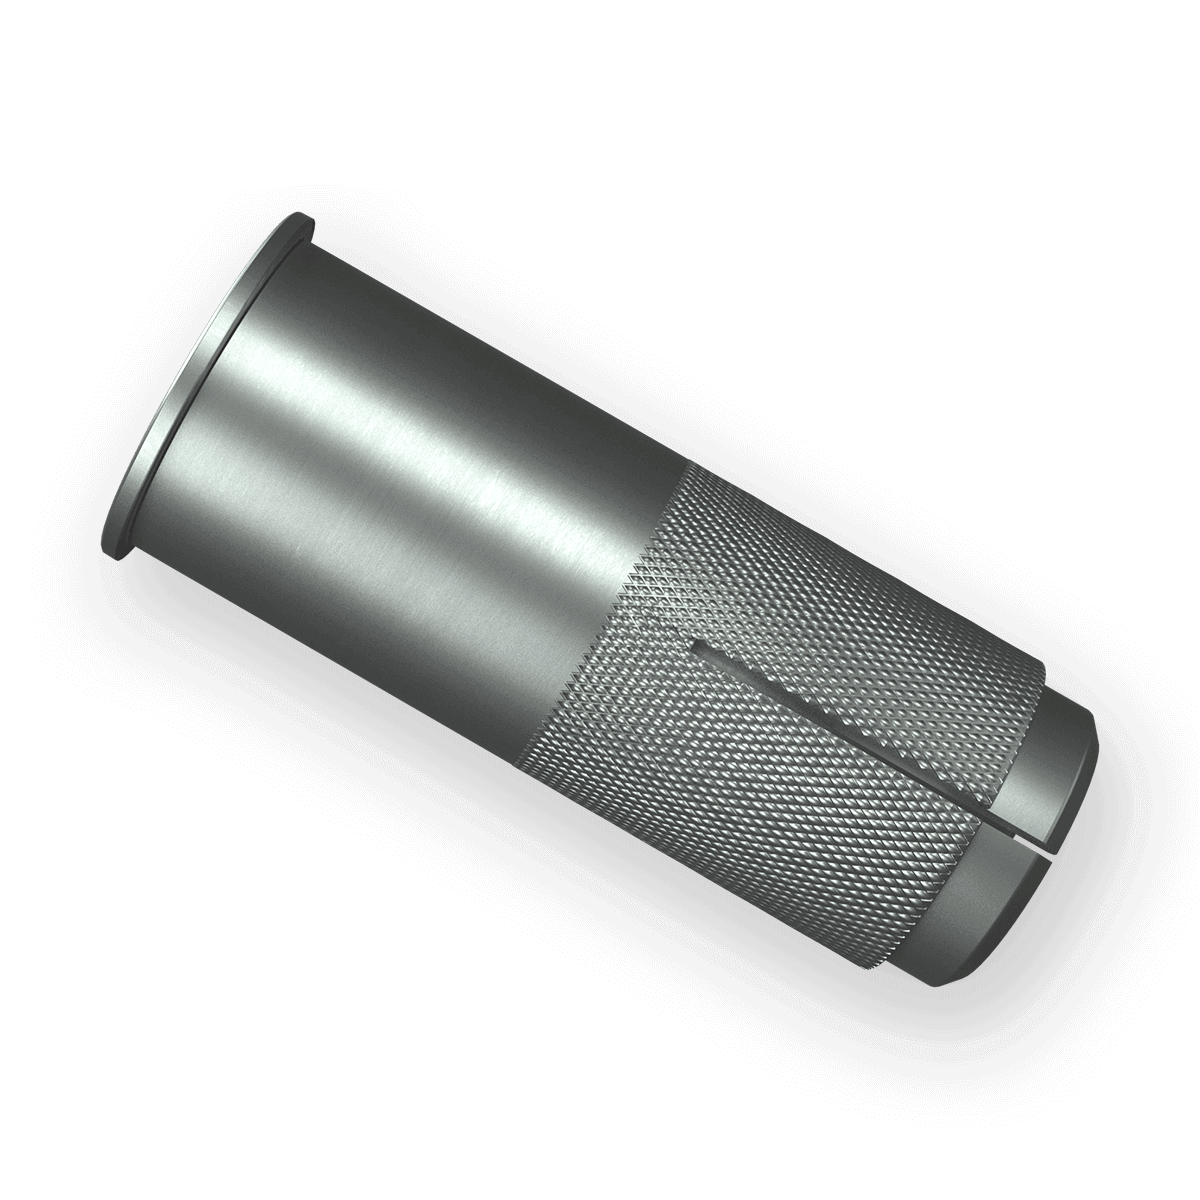
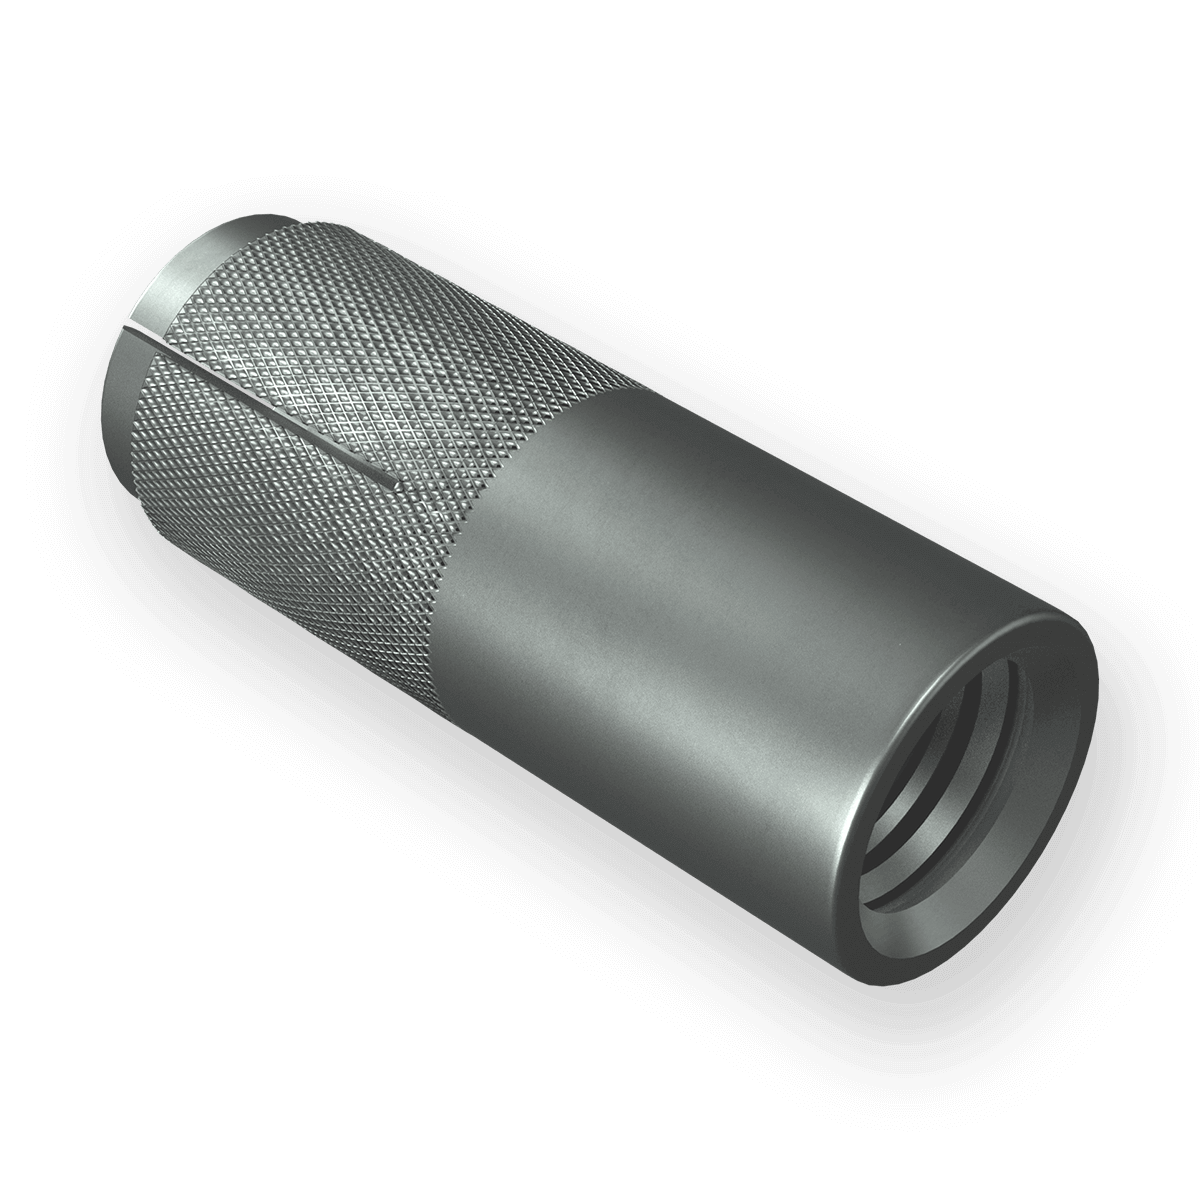
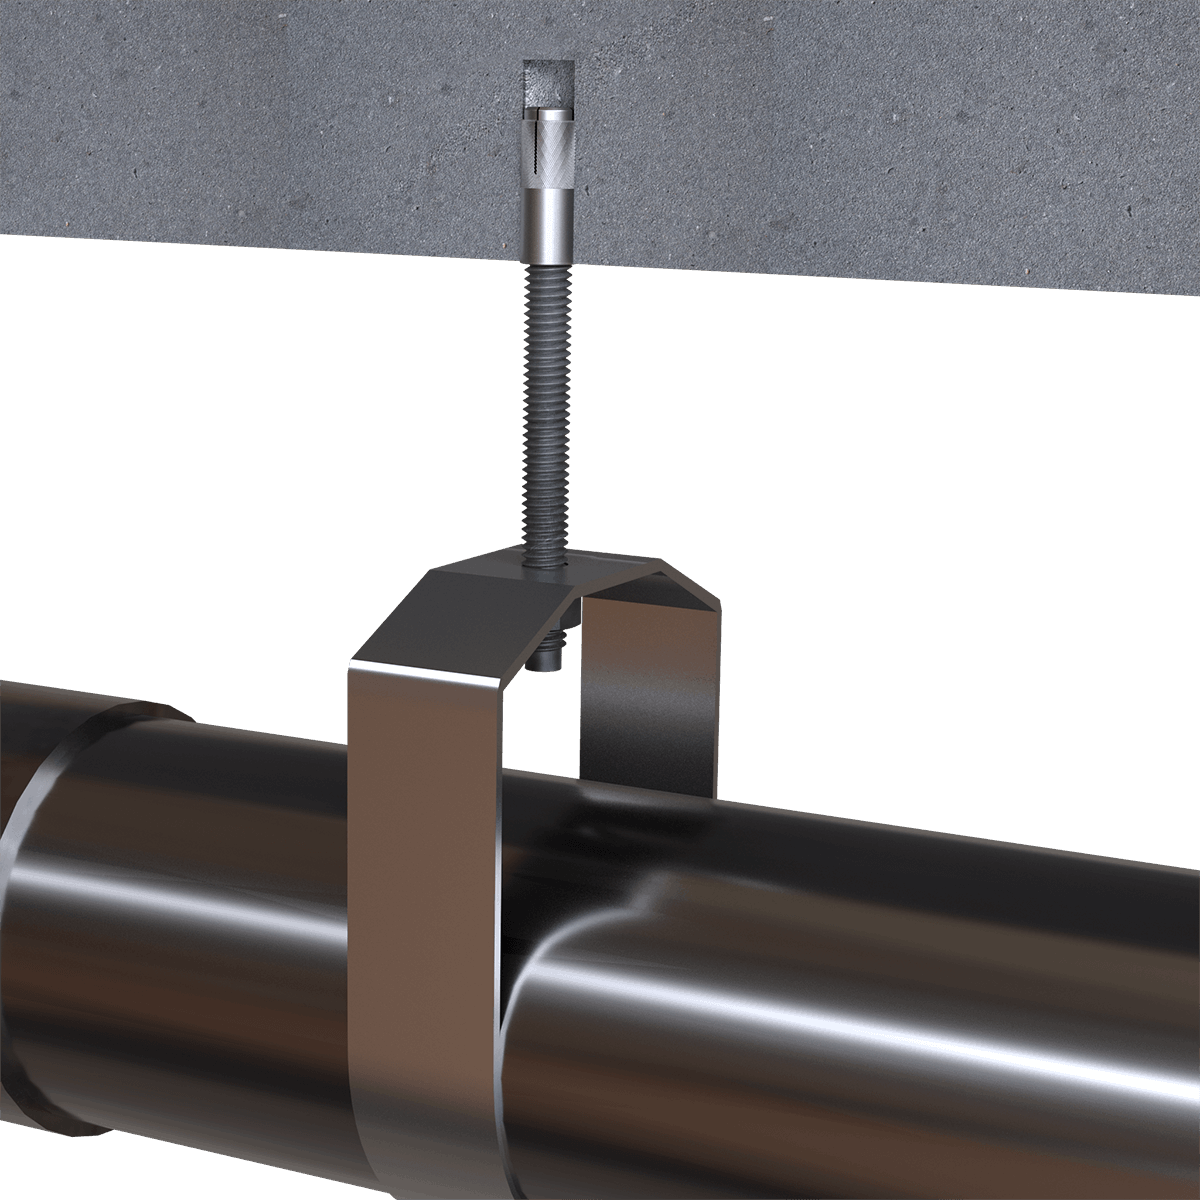
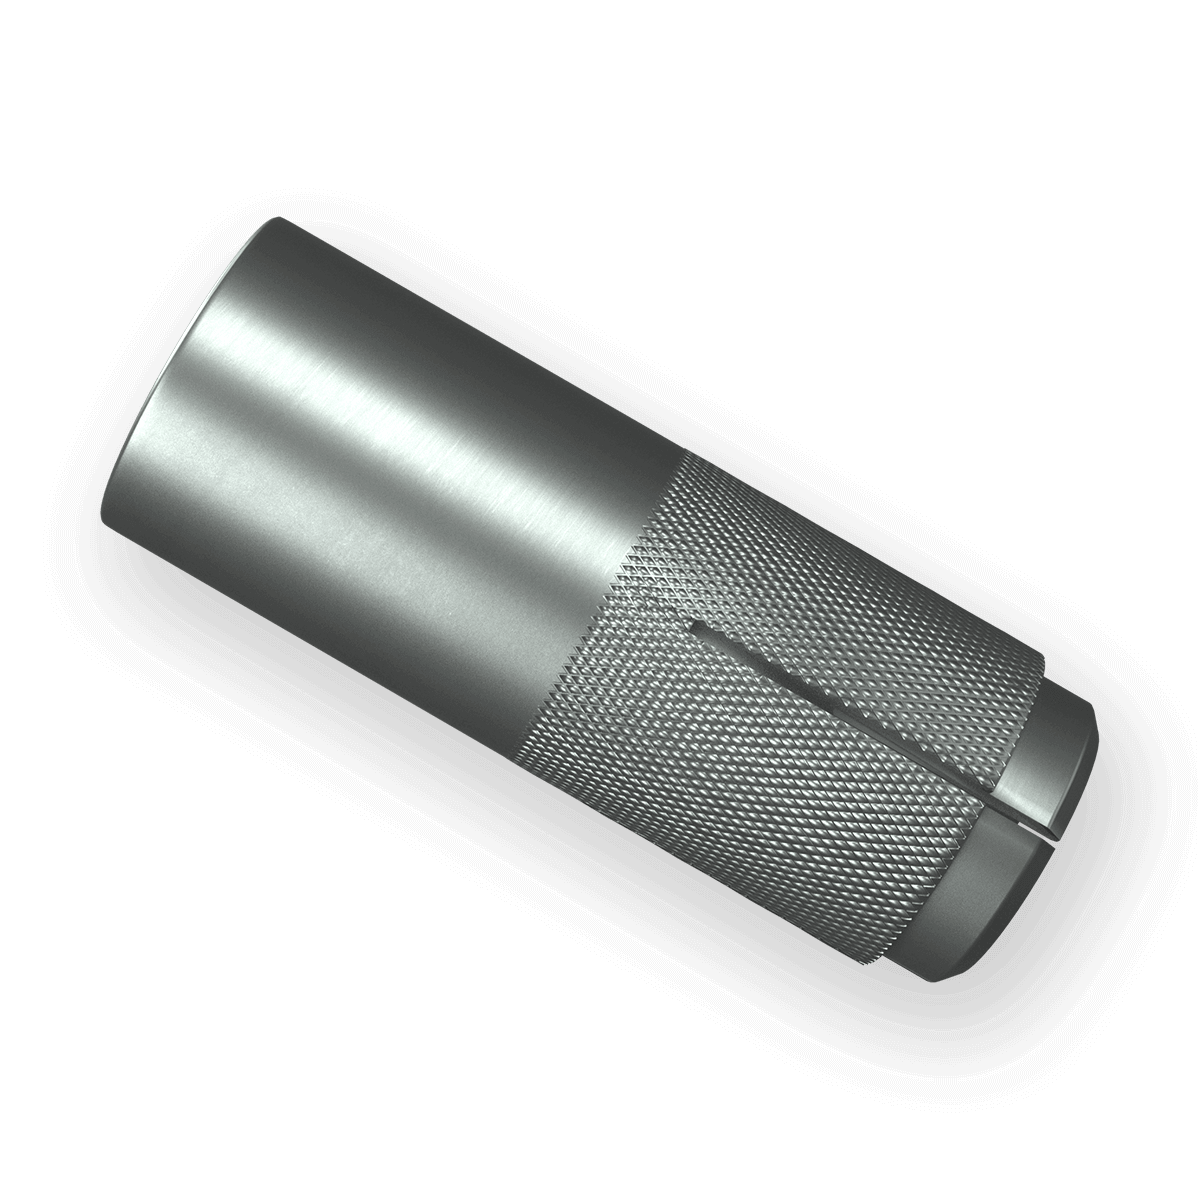
Ultra-Drop™ Drop-In Anchor
Zinc-Plated Carbon Steel
This internally threaded flush-mount expansion anchor features a knurled body that increases friction between the anchor body and the internal walls of the hole.

Downloads / Tech Flyer
Materials / Finishes
- Zinc-plated carbon steel
- Type 304 stainless steel
- Type 316 stainless steel
Features and Benefits
- Knurled body increases friction with the internal walls of the pre-drilled hole, increasing the anchor’s holding power
- Two-piece anchor compromised of internally threaded anchor body and expansion cone inserts — case-hardened expansion bullet inserts prevents galling and binding during expansion
- Preassembled expansion bullet with a high-quality plastic cap that prevents bullet from prematurely falling out before and during installation
- Internally threaded anchor allows for easy bolt removability and service work
- Eliminates requirement for rod couplings in overhead applications
- Anchor design offers consistent holding power in shallow embedment
Installation
Part Numbers
Catalog Number
Style / Type
Drill Bit Dia.
Thread Size
Anchor Length
Box Quantity
Carton Quantity
WD14
Standard / No Lip
3/8
1/4 - 20
1
100
1000
WD38
Standard / No Lip
1/2
3/8 - 16
1-5/8
50
500
WD12
Standard / No Lip
5/8
1/2 - 13
2
50
500
WD58
Standard / No Lip
7/8
5/8 - 11
2-1/2
25
200
WD34
Standard / No Lip
1
3/4 - 10
3-1/4
25
150
WD78
Standard / No Lip
1-1/8
7/8 - 9
4
10
40
WDL14
Lipped
3/8
1/4 - 20
1
100
1000
WDL38
Lipped
1/2
3/8 - 16
1-5/8
50
500
WDL12
Lipped
5/8
1/2 - 13
2
50
500
WDL58
Lipped
7/8
5/8 - 11
2-1/2
25
200
WDL34
Lipped
1
3/4 - 10
3-1/4
25
150
WDCT12
Coil Thread
5/8
1/2 - 6
2
50
500
WDCT34
Coil Thread
1
3/4 - 4-1/2
3-1/4
25
150
WDM14
Mini
3/8
1/4 - 20
5/8
100
1000
WDM38
Mini
1/2
3/8 - 16
3/4
50
500
WDM12
Mini
5/8
1/2 - 13
1
50
400
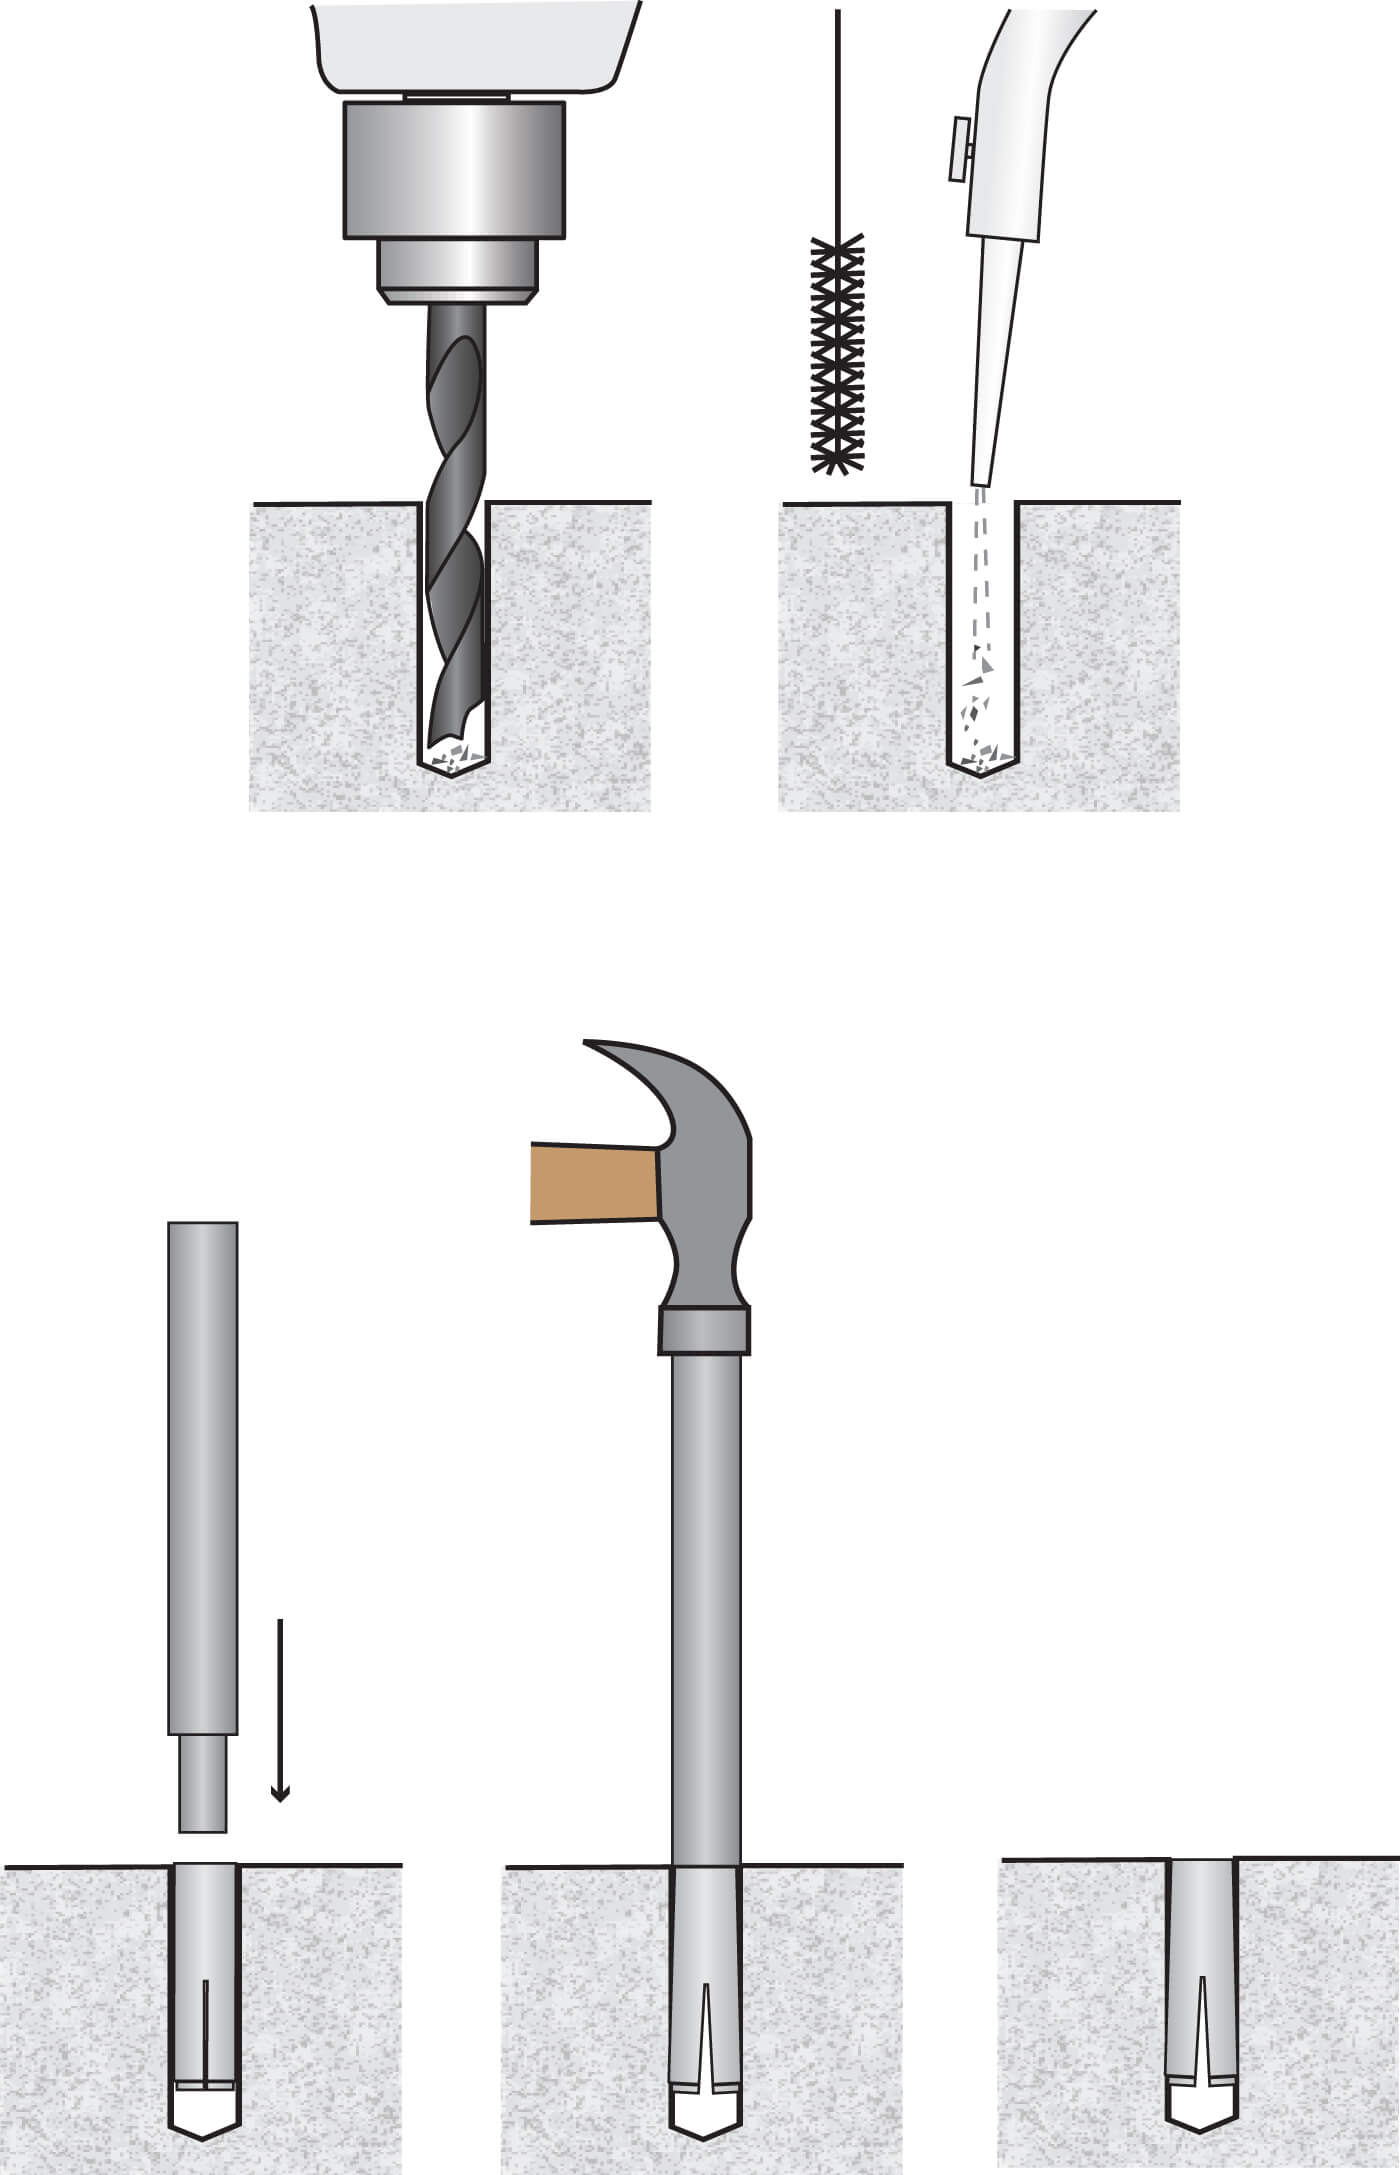
- Select the proper size drill bit from the Maximum Tensile Chart on the Tech Specs tab. Drill the hole perpendicular to the work surface. To assure full holding power, do not ream the hole or allow the drill to wobble.
- Drill the hole at least as deep as the full length of the anchor, but not closer than two anchor diameters to the bottom (opposite) surface of the concrete.
- Clean the hole using compressed air and a nylon brush.
- Tap the anchor, threaded portion last, into the hole. Make sure that the top of the anchor is flush with, or below, the level of the work surface.
- Insert the setting tool into the threaded end of the anchor and expand the anchor by striking the end of the setting tool with a hammer. The anchor is set (fully expanded) when the shoulder of the setting tool touches the anchor. Full expansion is necessary for proper anchor performance.
- The anchor is now ready to accept threaded hardware.
NOTE: Always wear safety glasses. Follow drill manufacturer's instructions. Use only solid carbide-tipped drill bits meeting ANSI B212.15 diameter standards.